


Hello there Hero-Club faithful, and welcome to a new Millennium’s Mind. Now, this post can be seen as either as guide to repair cosplays, or a promotion for custom commissions. For those unaware, when I am not reviewing or discussing tokusatsu, I like to make cosplay props or customize toys. In addition, when I am not doing personal projects, I may take commissions to earn extra cash. So, the following is an example of my work, and a discussion on the process that was involved. Whereas, the subject matter pertains to repairing a Super Sentai cosplay helmet, specifically Kakuranger’s Ninja Blue. However, Power Rangers fans will recognize the helmet as the Blue Aquitar Ranger. Nevertheless, let me get started on explaining how this all came be…
Sometime ago, my friend Craig Juan contacted me to help fix the helmet this article pertains to. What had happened to the item is that it accidentally fell onto the floor. The impact resulted in damaging the gold band across the forehead and creating various hairline fractures. The helmet was originally designed by Kamen Rider Nimoy for Craig before it came into my possession to repair. Now, at full disclosure I have handle an item like this before for commissions. Mostly the props I made previously were either weapons or accessories. Whereas my main body of work has been figures and table-top miniatures. So, from seeing the initial images and eventually getting the item in-hand, I was very intimidated to work on it.
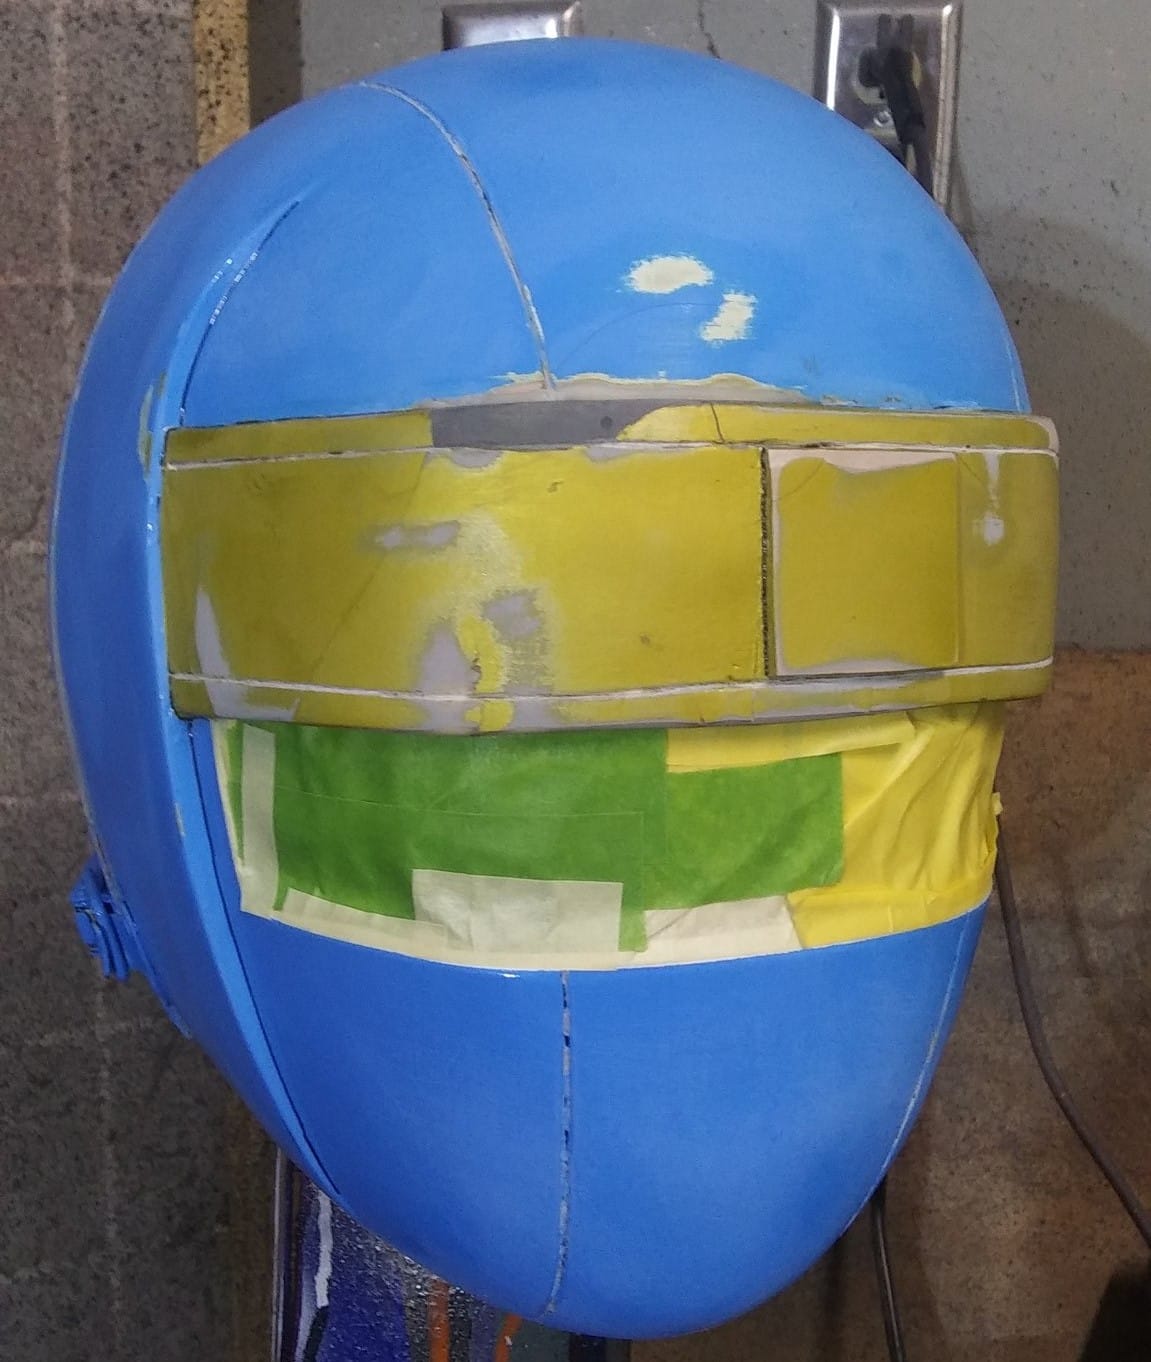
Now, when I began with the repairs, I started by masking off the visor. I wanted to make sure absolutely nothing got on the visor like paint or glue. Then I got UV Resin Glue from O’Reillys because the brand I normal use from Home Depot was unavailable. Once having the UV Resin Glue in hand, I began filling and curing every hairline fracture on the helmet. Following the application of the UV Resin Glue, I moved onto Steel-Reinforced JB Weld to fix other gaps. The JB Weld was used the larger holes, and to make sure it kept its shape I masked it off. However, I went back to the UV Resin Glue to fill in some minor spots once the JB Weld cured.
Next came the part I foresaw being the most annoying task which was the sanding. To make sure the helmet returned to its normal shape, it required a lot of sanding. I had to use multiple types of files and sanding blocks to get every crack and pothole smoothed out. I cannot recall exactly which levels of grain were required but like model building it is best use different levels. Once sanding is completed, I suggest cleaning the item with a micro-fiber cloth and baby-wipes. Then with the structural repairs finished, I began prepping for the cosmetic repairs otherwise referred to as the painting process.
So, for the painting I began with the adhesion promoter primer; it is a clear primer that helps paint to better adhere to specific types of surfaces. Then I had some trouble finding a blue paint that matched the helmet’s original cover. However, I eventually settled on using Satin Oasis Blue, as it was the closest color that I could find. Whereas, for the helmet’s gold band, I used the FolkArt Treasure Gold. Normally the paint has a lot of swirls even after stirring, applying, and drying, but it ends up very shiny. Now, between the two colors required, I needed to use about two or three coats to fully cover the helmet.

With the main painting completed, I then worked to fix the black panel lines. For the panel lines I used Tamiya Semi-Gloss Black but had to be very careful. At the time, I was not feeling to well and had the shakes, so I was trying not to fumble around. Also, as an extra precaution I wore gloves to avoid leaving fingerprints or getting paint residue on myself. Finally, to seal in the paint I used Dupli-Color Protective Clear Coat Finish automotive paint; this paint is one of the most durable types I have come across to be used as a topcoat. Overall, I think I used three coats of the Dupli-Color to make sure everything was sealed off and durable.
Finally, I removed the masking tape from the visor, and I was completely done. So, I then sent images to my friend Craig, and he was amazed at the results. Following the updates on the project, I began to make the arrangements to send the helmet back to Craig. Once everything was settled, I was overly pleased with how things ultimately turned out on this restoration project. Now, it makes want to continue offering this kind service repair on top of the other customs I normally do.
Anyway, this concludes my guide to repairing cosplay helmets and this shameless plug for my commission work. I hope people will please leave feedback on if I should more guides in the future. Most likely if readers do decide that they want me producing other tutorials, those editorials will be more in-depth. Nevertheless, stay tuned for whenever I can write the next installment of Millennium’s Mind. Also, look forward to Friday when I publish my review on Power Rangers Dino Fury episode 7. So, until then please keep supporting Hero-Club by follow us across social media @HeroClub4Life!
![[Con Report] Power Morphicon 2024: The Entire Weekend Rundown](/content/images/size/w800/format/webp/2024/09/hc4l-pmc-2024-con-report.png)

![[Con Report] Magfest 2023: It Has Gone Super Now!](/content/images/size/w800/format/webp/super-magfest-2023-cover.jpg)
![[Con Report] Millennium’s Mind Power Morphicon 2022 Edition](/content/images/size/w800/format/webp/zeltrax-pmc-2022-con-report-cover.png)
